Last updated: 2026-09-21 · 2 min read
Inviting members
Invite internal teammates to the workspace, and customers to a Room. Right after you create a workspace, you can send invites from first-time setup. Later, use Settings → Users. For role differences, see Understanding roles.
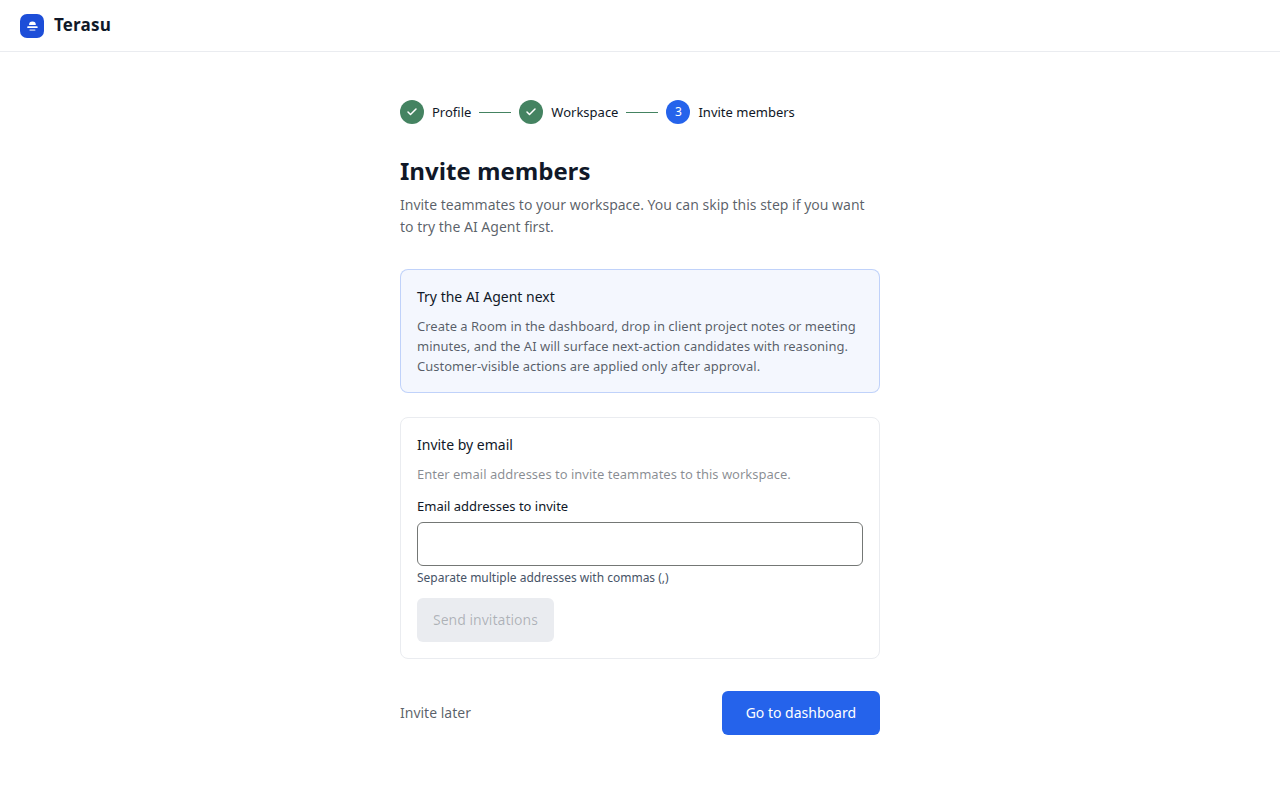
Invite during first-time setup
- Enter addresses in "Email addresses to invite"
- Separate multiple addresses with commas (,)
- Press "Send invitations"
- To skip for now, press "Invite later" or "Go to dashboard"
Sent addresses appear under "Invited". If you want to try the AI Agent first, skip this step and go to the dashboard.
Invite internal members from Settings
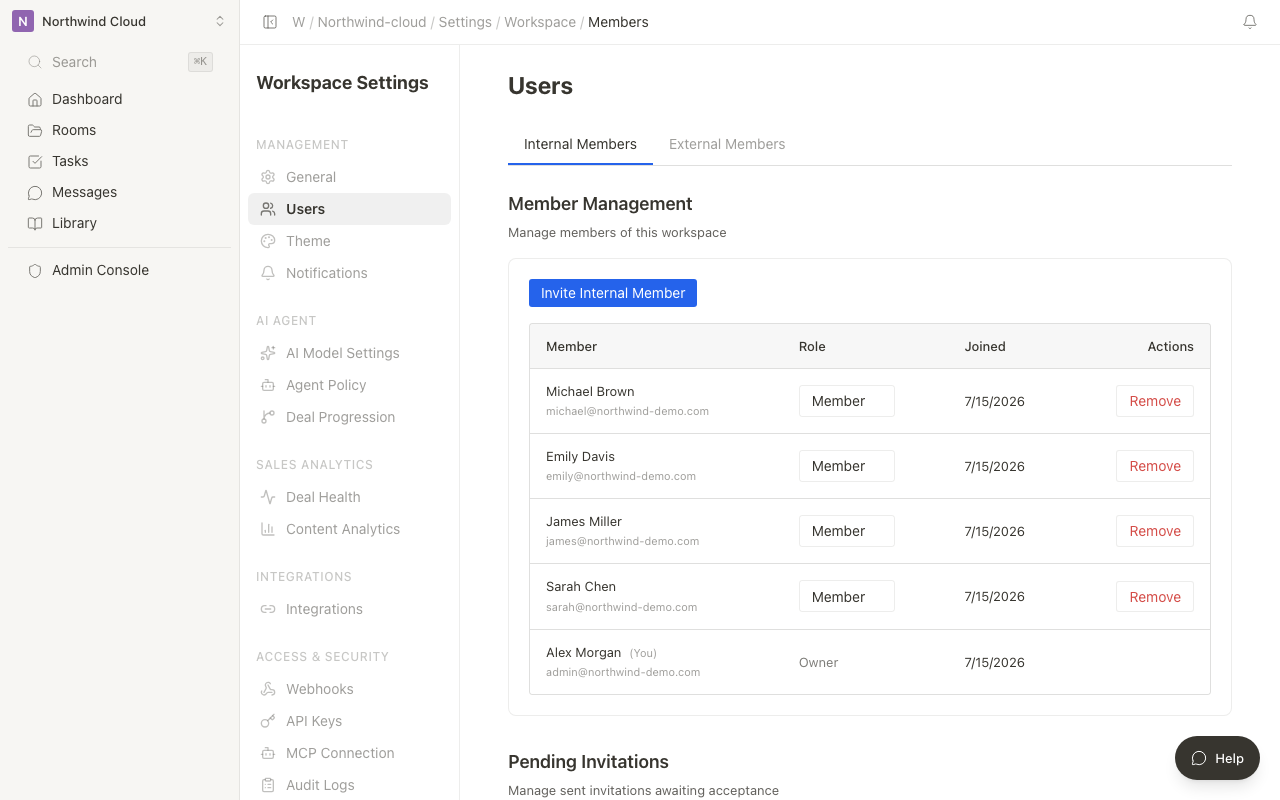
- Open Settings → Users
- Press Invite Internal Member
- While the email is empty, the dialog shows "Enter an email address to send the invitation" and Send invitation stays inactive
- Enter an email, choose a role, and press Send invitation. The close (×) control is named Close
Invite customers to a Room
Customers join an individual Room, not the whole workspace.
- Open Members in the Room
- Enter the customer's email
- Choose Viewer or Editor and invite
| Item | Internal members | External members (customers) |
|---|---|---|
| Invited to | The workspace | An individual Room |
| Viewing scope | Multiple Rooms, based on permissions | Only the invited Room |
| Creating Rooms | Yes (Member or higher) | No |
Inviting an external member grants access to that Room's materials. Keep pages internal-only when customers should not see them. See Managing content permissions.
Related articles
- Workspace setupHow to create a workspace during first-time setup
- Understanding Roles and PermissionsLearn about the permissions of each role at the Workspace and Room levels, and the differences between internal and external members.
- Managing Content PermissionsHow to properly control view, edit, and delete permissions for files and pages between internal and external members