Quick Start Guide
This guide covers the basic steps to start using Terasu. From creating an account to sharing files, you can be up and running in just 5 minutes.
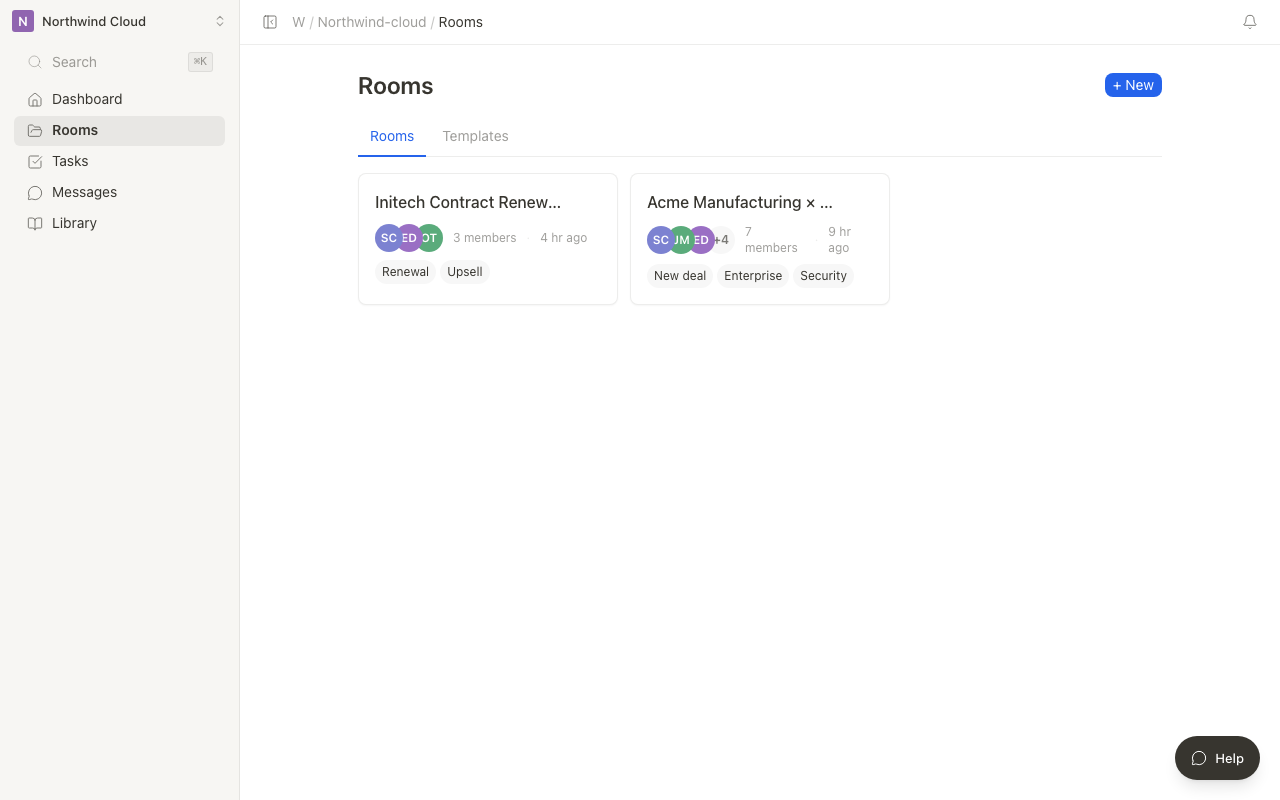
1. Create an Account
You can create an account simply by entering your email address and setting a password.
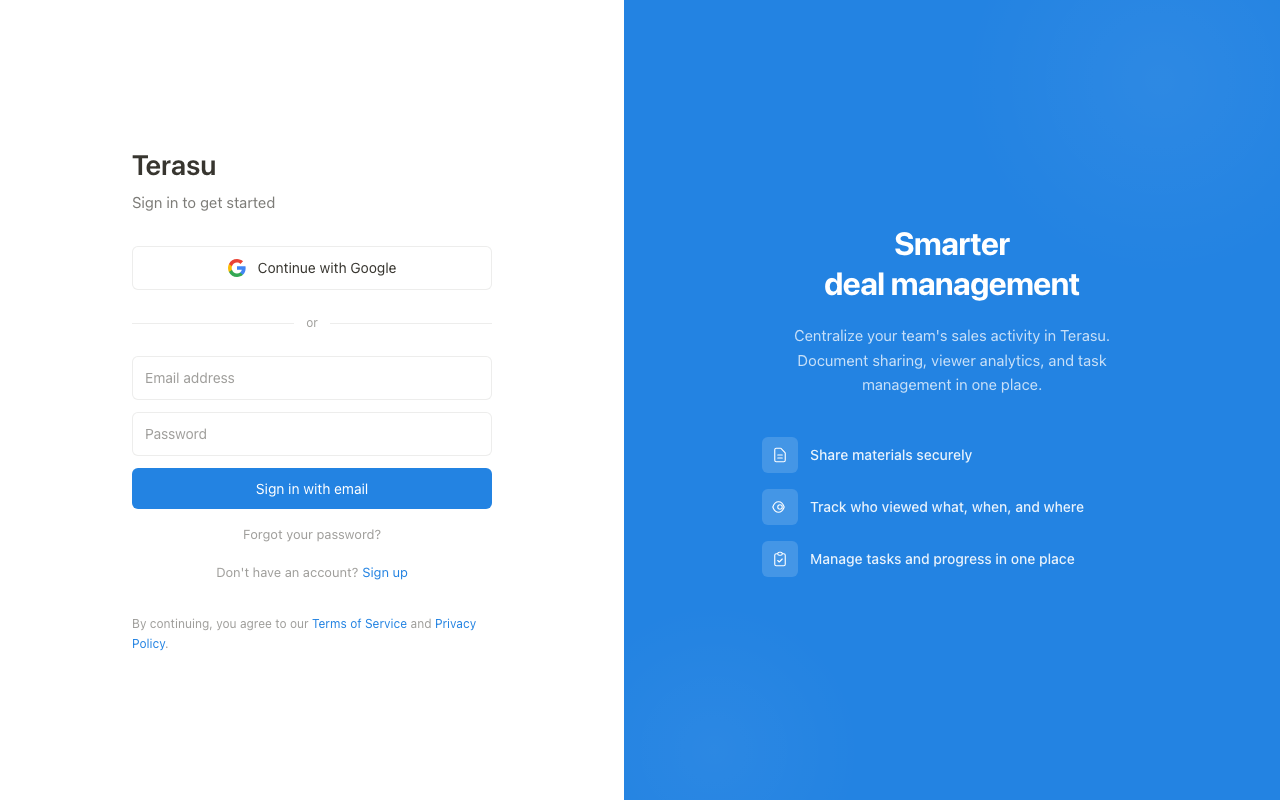
- Click "Start for Free" on the top page.
- Enter your email address and password.
- Click the link in the confirmation email to complete verification.
Social login with a Google account is also supported.
2. Create a Workspace
After creating your account, the first step is to set up a Workspace. A Workspace is your team's home base.
- Enter a Workspace name on the onboarding screen.
- Set a URL slug (this cannot be changed later).
- Click "Create."
The Workspace URL slug cannot be changed after creation, so choose it carefully.
3. Create a Room
Create a Room within your Workspace. A Room is a shared space for each customer or project.
- Open Rooms in the left nav, then click "New Room."
- Enter a Room name and description.
- Click "Create."
4. Add Content
Inside a Room, you can create pages and upload files.
- Create pages: Edit content freely using the block editor.
- Upload files: Drag and drop PDFs, images, videos, and more.
5. Share with Customers
Share the Room with your customer. You can invite them simply by entering their email address.
- Click "Invite Members" from the Room settings.
- Enter the customer's email address.
- Select a permission level and click "Invite."
Invited customers automatically receive an email notification.
Next Steps
You've completed the basic setup. To learn more, check out the following articles.