Last updated: 2026-09-20 · 1 min read
Workspace setup
After you create an account, you create a workspace to hold client projects. To change the logo or theme later, see Workspace settings.
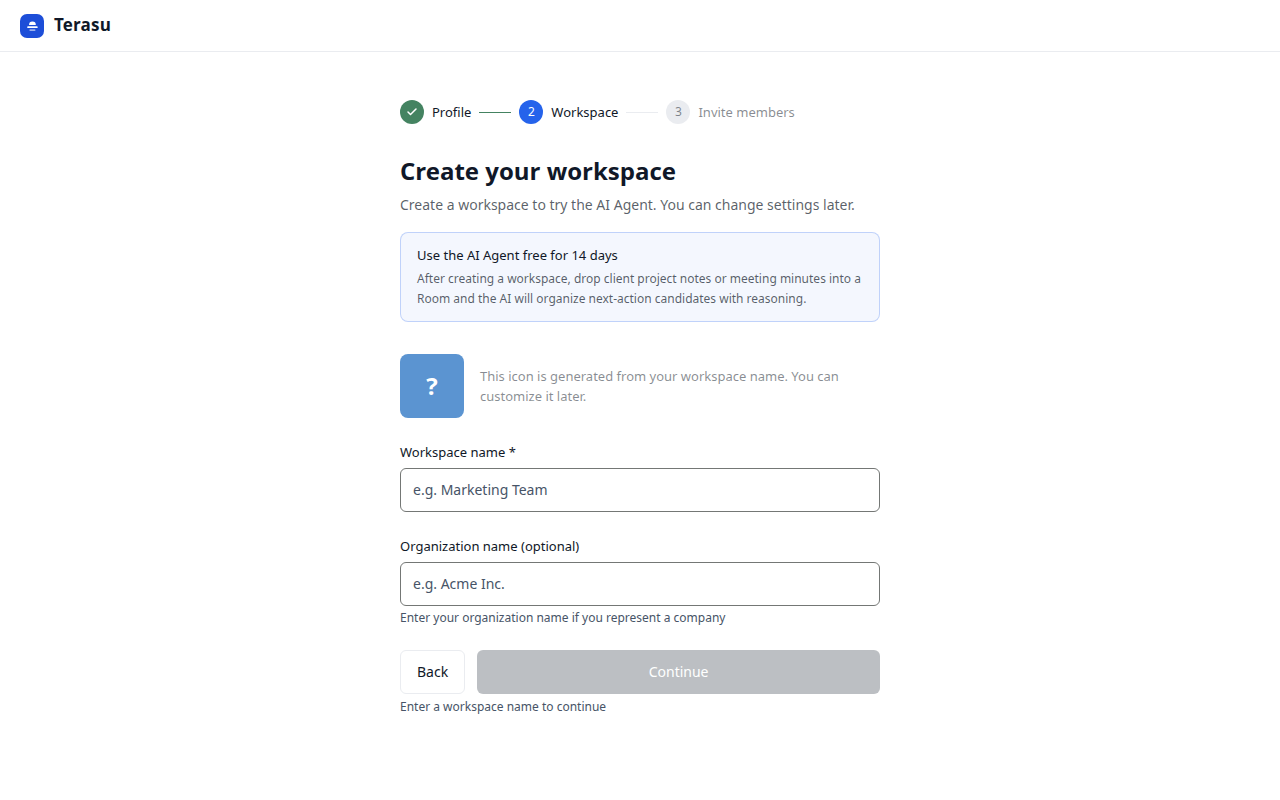
Create a workspace
- Enter a workspace name (required)
- Optionally enter an organization name if you represent a company
- Press "Continue"
Creating a workspace starts a 14-day Business trial. "Back" returns to the profile step. "Continue" stays unavailable until a name is entered.
You can rename the workspace later in Settings → General. A short name the team recognizes is enough to start.
Related articles
- Getting started with Terasu SignalShare a PDF without signing up and see when, by whom, and how far it was read
- Inviting membersHow to invite teammates and customers from first-time setup and Settings
- Managing Workspace SettingsHow to manage workspace basic settings, member management, AI agent, integrations, security, and billing