Last updated: 2026-09-21 · 2 min read
Sharing a Room
Share a Room with internal members and customers so you can work the same client project together. The invite entry is "Members" in the left menu.
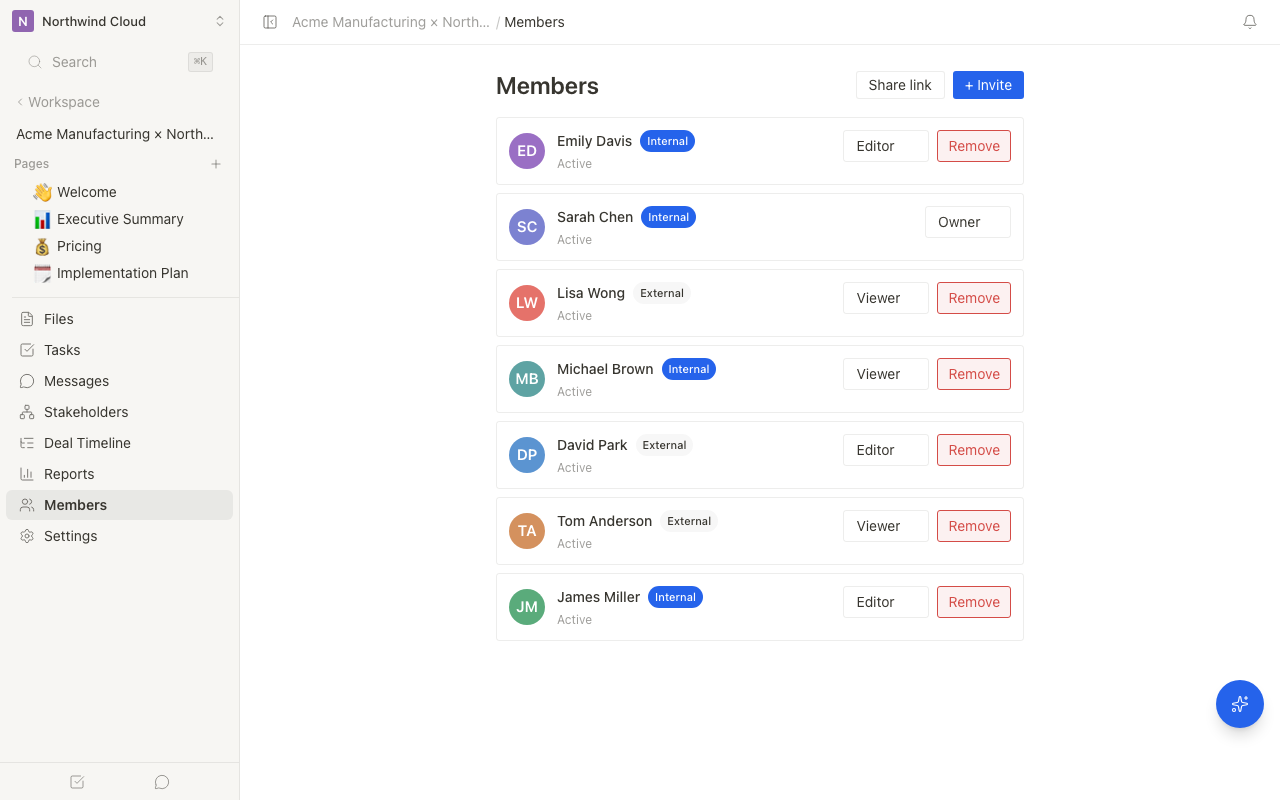
Inviting by Email
- Open "Members" in the Room left menu
- Click "+ Invite"
- On the "External invite" tab, enter the recipient's email address
- Click "Invite"
To add someone from your company, use "Internal members" in the same dialog, search, then click "Add".
If you do not have an email address, use "Link invite" on the same screen.
The Difference Between Internal Members and External Customers
| Item | Internal Members | External Customers |
|---|---|---|
| Account | Belongs to the workspace | Invited on a per-Room basis |
| View scope | Multiple Rooms depending on permissions | Only the Room they were invited to |
| Analytics data | Can view | Cannot view |
| Notifications | In-app + email | Email only |
Things to Keep in Mind When Sharing
When you share a Room with an external customer, pages and files that are set to public become viewable. Before sharing, set anything you do not want to show as internal-only. See Managing content permissions.
Revoking Access
- Open "Members" in the left menu
- Click "Remove" for the person
- Confirm with Don't or Remove. Focus starts on Don't
A removed member loses access immediately.
Related articles
- Managing sharing and notificationsHow to review and manage notifications, and customize the email notifications sent when sharing
- Manage Room membersHow to invite, change permissions for, and remove Room members, and the difference between internal and external member permissions
- Managing Content PermissionsHow to properly control view, edit, and delete permissions for files and pages between internal and external members